- Thoroughly cleanse your face using a gentle pH-balanced cleanser.
- Start from the bottom of your face and work your way up. Avoid any action that adds to the effects of gravity. Rather than pulling down, pull upwards to minimize potential future sagging of the skin
- Avoid rolling in the shaded area, which represents the orbital (eye sockets) area.
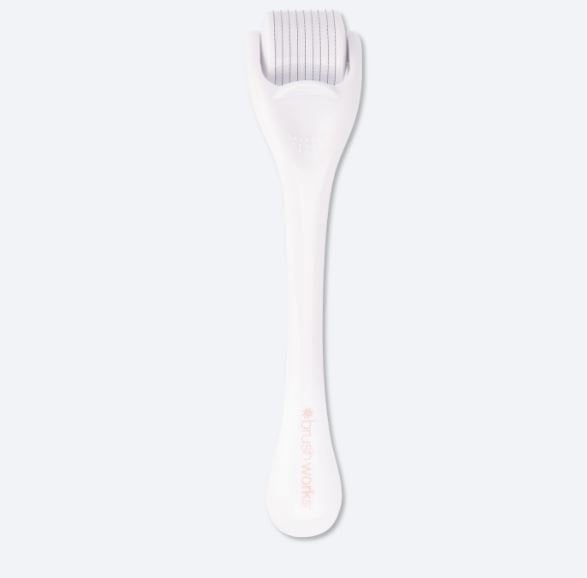
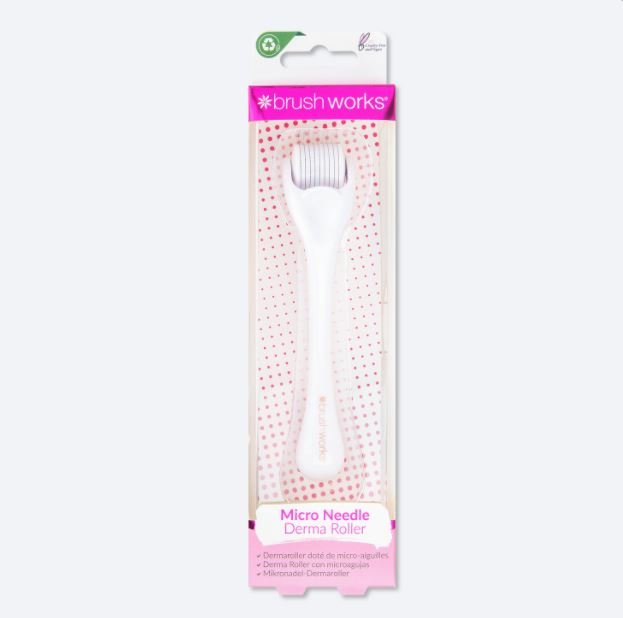
- Roll in one direction 6 to 8 times, depending on your skin tolerance and sensitivity, and make sure to lift the roller after each pass. So, roll in one direction. Lift up. Repeat.
- Lifting the derma roller after each pass prevents the dreaded “track marks” that make you look like a cat clawed your face.
- After you roll in the same place 6 to 8 times, adjust the derma roller slightly, and repeat. Do this until you’ve covered the entire section of skin you’re treating.
- After rolling in one direction, it’s time to go back over the area you just rolled and repeat the process in the perpendicular direction. For example, say you finished rolling across your forehead vertically, now would be the time to go back and repeat that entire process horizontally.
- By the end of this entire procedure, you should have rolled over each area 12 to 16 times — 6 to 8 horizontally, 6 to 8 vertically.
- You do not need to roll diagonally. Doing so creates an uneven pattern distribution with more stress on the centre.
- After you’re done microneedling, rinse your face with water only.
- Clean your derma roller with soap. Create a soapy water mix in a plastic container, then swish around the roller vigorously.
- Disinfect your derma roller again by letting it soak in 70 percent isopropyl alcohol for 10 minutes.
Follow up derma rolling with a basic skin care routine. That means no chemical exfoliates or active ingredients like benzoyl peroxide, salicylic acid, tretinoin, et

